How To Create Stunning Baking Soda Ornaments For Your Home
Creating beautiful and unique decorations doesn’t have to break the bank. Baking soda ornaments are a fantastic DIY project that’s simple, affordable, and perfect for personalizing your space. Whether you’re looking to craft holiday decorations or simply add a touch of creativity to your home, these ornaments are an excellent choice.
Baking soda ornaments have gained popularity among craft enthusiasts due to their versatility and ease of creation. With just a few basic ingredients and tools, you can make ornaments that are both charming and long-lasting. These decorations are ideal for holidays, special occasions, or even as gifts for friends and family.
This article will guide you through every step of creating baking soda ornaments, from preparation to finishing touches. We’ll also explore creative ideas, tips, and tricks to ensure your creations turn out beautifully. Let’s dive in and discover how you can bring your artistic vision to life with this simple yet effective craft!
Read also:What Really Happened When Elvis Presley Died A Deep Dive Into The Kings Final Days
Table of Contents
- Introduction
- What Are Baking Soda Ornaments?
- Benefits of Using Baking Soda for Ornaments
- Materials Needed for Baking Soda Ornaments
- Step-by-Step Guide to Making Baking Soda Ornaments
- Creative Design Ideas for Baking Soda Ornaments
- Customizing Your Baking Soda Ornaments
- Tips for Perfect Results
- Common Mistakes to Avoid
- Frequently Asked Questions
- Conclusion
What Are Baking Soda Ornaments?
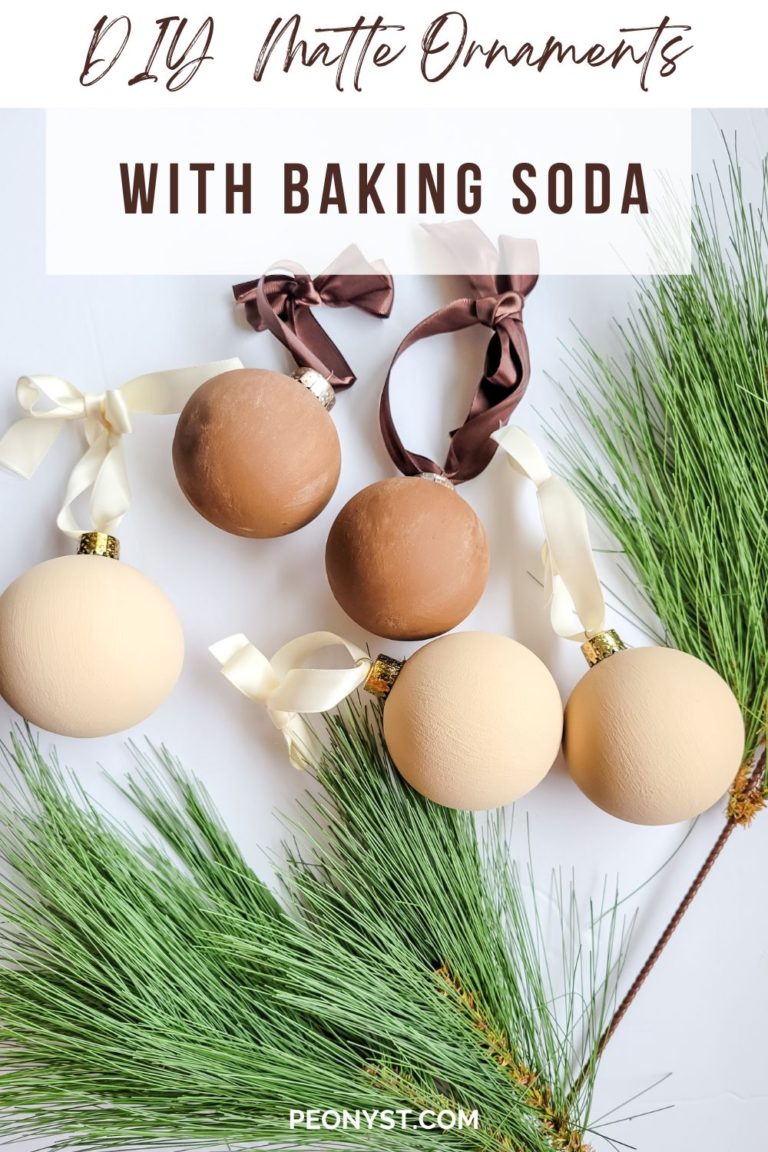
Baking soda ornaments are handmade decorations crafted using baking soda as the primary material. These ornaments are typically made by mixing baking soda with water or glue to form a moldable dough, which is then shaped and dried into various designs. The result is a lightweight, durable, and customizable decoration that can be painted or decorated to suit any theme.
These ornaments are popular for their affordability and eco-friendly nature. They are often used during the holiday season, but their versatility allows them to fit into any occasion or decor style.
Benefits of Using Baking Soda for Ornaments
There are numerous advantages to using baking soda for crafting ornaments:
- Affordability: Baking soda is an inexpensive ingredient that most people already have at home.
- Non-Toxic: It’s safe for children and pets, making it an ideal material for family-friendly crafts.
- Versatility: Baking soda ornaments can be shaped into virtually any design, from simple shapes to intricate patterns.
- Eco-Friendly: Baking soda is a natural substance, reducing the environmental impact of your crafting projects.
Materials Needed for Baking Soda Ornaments
Before you begin crafting your baking soda ornaments, gather the following materials:
Primary Ingredients
- Baking soda
- White glue (such as Elmer’s)
- Water (optional)
Tools and Accessories
- Mixing bowl
- Spoon or spatula
- Molds or cookie cutters
- Baking tray
- Acrylic paints and brushes
- Clear varnish (optional)
Step-by-Step Guide to Making Baking Soda Ornaments
Creating baking soda ornaments is a straightforward process that anyone can master with a little practice. Follow these steps to make your own:
Step 1: Prepare the Dough
Mix two parts baking soda with one part white glue in a mixing bowl. If the mixture feels too dry, add a small amount of water to achieve the desired consistency. Knead the dough until it’s smooth and pliable.
Read also:Discover The World Of Entertainment With Hdhub Movie 4u Your Ultimate Guide
Step 2: Shape the Ornaments
Use molds or cookie cutters to shape the dough into your desired designs. You can also hand-sculpt the ornaments for a more personalized touch. Be sure to make a small hole at the top of each ornament for hanging.
Step 3: Dry the Ornaments
Place the shaped ornaments on a baking tray and allow them to dry completely. This process may take several hours or overnight, depending on the thickness of the ornaments.
Step 4: Paint and Decorate
Once the ornaments are dry, paint them using acrylic paints. Let the paint dry before applying a clear varnish to protect the design and enhance its durability.
Creative Design Ideas for Baking Soda Ornaments
Here are some inspiring ideas to get your creative juices flowing:
- Holiday Themes: Create festive ornaments for Christmas, Halloween, or Easter.
- Personalized Gifts: Add names or initials to make the ornaments special for loved ones.
- Seasonal Decorations: Design ornaments that reflect the changing seasons, such as leaves for autumn or snowflakes for winter.
- Animal Shapes: Use cookie cutters to create adorable animal-shaped ornaments for kids.
Customizing Your Baking Soda Ornaments
Adding unique touches to your ornaments can make them truly one-of-a-kind. Consider the following customization options:
Adding Texture
Use tools like toothpicks or skewers to create patterns or textures on the surface of the ornaments before they dry.
Using Glitter
For a sparkly effect, sprinkle glitter onto the wet dough or add it to the paint for a shimmering finish.
Incorporating Ribbons
Thread ribbons or twine through the holes for a rustic or elegant look, depending on your preference.
Tips for Perfect Results
To ensure your baking soda ornaments turn out beautifully, keep these tips in mind:
- Consistency Matters: Make sure the dough is neither too dry nor too sticky. Adjust the ingredients as needed.
- Patient Drying: Allow sufficient drying time to prevent cracking or warping.
- Protect the Finish: Apply a clear varnish to safeguard the paint and extend the life of your ornaments.
Common Mistakes to Avoid
Even experienced crafters can make errors when working with baking soda ornaments. Here are some pitfalls to watch out for:
- Overmixing: Mixing the dough too much can make it tough and difficult to shape.
- Inadequate Drying: Not allowing enough time for drying can lead to weak or fragile ornaments.
- Improper Storage: Keep finished ornaments in a cool, dry place to maintain their quality.
Frequently Asked Questions
Can I Use Baking Soda Ornaments Outdoors?
While baking soda ornaments are durable, they may not withstand prolonged exposure to the elements. For outdoor use, consider sealing them with a weather-resistant varnish.
How Long Do Baking Soda Ornaments Last?
With proper care, these ornaments can last for years. Storing them in a dry place and avoiding direct sunlight will help preserve their appearance.
Are Baking Soda Ornaments Safe for Children?
Yes, baking soda ornaments are non-toxic and safe for children to handle. However, supervise young children during the crafting process to ensure safe use of tools.
Conclusion
Baking soda ornaments offer a delightful and budget-friendly way to enhance your home decor or create meaningful gifts. By following the steps outlined in this article, you can craft stunning ornaments that reflect your creativity and personal style.
We encourage you to share your creations with others and explore new design possibilities. Don’t forget to leave a comment below sharing your favorite tips or asking questions. Happy crafting, and we look forward to seeing what you create!
Article Recommendations